Friday, 16 July 2010

1805 redigote


close-up details of front


I managed to find some really good gold braid which I harvested from an Indianni velvet-cushion cover this also had pearl beads which could be useful . Gold trims are very hard to find, I struck lucky. This when unpicked was sews on by hand to the edged of the Spencer.


The first challenge was the slits made in the fabric which I initially thought were tabs sewn on in the picture I had. I then added a backing and measured them vertically and gingerly cut through, turning the raw edges in by hand and finishing by hand, then pressing. Then I made the balls (50 in all 25 down each side!.) the skirt itself wasn't hard flared out to the bottom and made long enough to fit under the bust. It was the thought of facing all those hand made balls, sewn in a spiral (probably not the correct way but it does the job!) I then tried to close it but could,t see any clue on the picture, I came to the conclusion that I had to fix a chain of thick crochet cotton in the front edge to wrap over the bobble on the other side. However I only realised this when I was on the jacket so I need to undo the ones I put behind the bobbles now - a short job.

Friday, 14 May 2010

1790s striped top
I started this project over a week ago. I couldnt get any striped silk so used a pair of curtains which was checked in blue and white Id purchased second-hand. This actually made the top look like a Vivian Westwood or 80's style.


The jacket is shaped at the front and back this is to accomodate the pannier which is under the underskirt. The jacket overlaps at the front. This proved to be the hardest because I didnt get the shaping equally sized I should have used a template or worked on a pattern. I cut the jacket out larger than I needed and pinned the sides to the dressmakers dummy to get it to fit snuggly at the sides and cut the neck which was squared off to the correct shape. I had a problem with the lining which I cut unevenly so it was pulling the top material. I actually thought Id have to start again which was pretty upsetting but when I came back to it the next day I was able to alter one half of the front. To be truthfull I'd overtired myself I then oversewed the button holes using two narrow strips of fabric ebut now the front needs stiffening up!It's all very exciting at first wheen you see the garment coming together but the hand-finishing is the important part as it makes it look professione and I have a tendancy to rush to get it finished and am already thinking about the next garment. Sometimes I leave it and take ages to finish it this may not be a good idea!
This all goes to prove that making a pattern would have been time well-spent in this case. I made one after in case I need to make it again.

Thursday, 22 April 2010

Pannier for giving shape to dress/skirt
h

Materials used: White cotton,imitation whale-bone.
I made this pannier from a pattern found on the internet. It is called a pocket
hoop as it can have pockets inside which are obtained from slits in the side of
the dress. It would be worn with this dress.


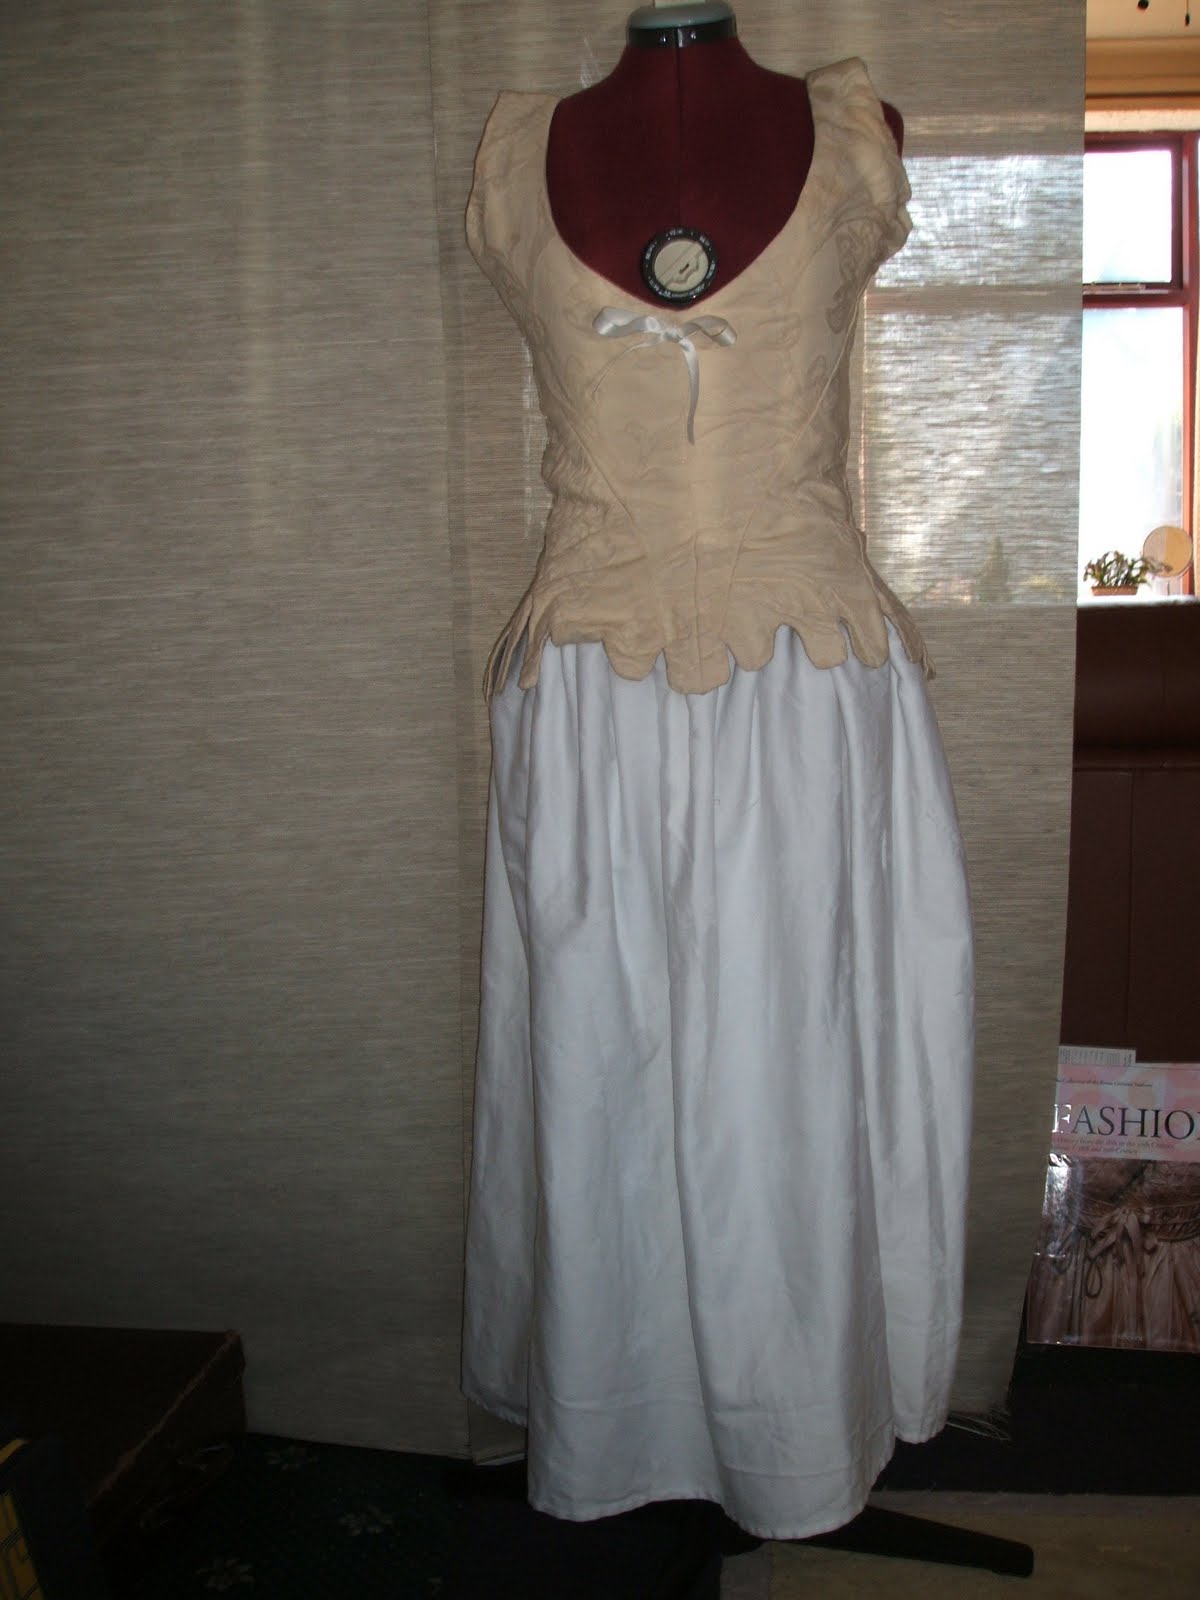
Corset
Materials: brown linen and curtain fabric
Cost: about £3
I got the pattern from a book from the Kyoto costume museum drew it out on paper and made it half an inch bigger. Luckily it was the right shape and approximately the right size. I cut it out in brown linen and some yellow curtain material. I then lined the pieces in the right order this was easier if they were numbered. I then stitched them together put the outsides facing each other and trimmed. The scolopped edges were the hardest as I found I had to undo the top and hand stitch then oversew it flat at the bottom. The eyelets were added I had a few metal stays but didn't add them.

red 1700s jacket with eyelets and shaped edging


I am finally able to show the finished top 1700s it is red linen and cottom lining. The jacket pattern is the same as a modern one except for the detail at the bottom. I sewed the top and bottom down and turned inside out via the front openings so had to hand finish the fronts. the eyelets were too short in the length so I have had to order some online along with some strong laces you have to be careful to measure out the spacing with the eylets. I didnt use a pattern but found my new dressmakers dummy invaluable for size. The top is a strip of material bound at the edges and sewn inside to two layers of lining and red top fabric.

Wednesday, 14 April 2010

First adventures in sewing historic clothes


I finished my first project about a week ago which was an 1830's dress which I made from old materials no pattern just made from photos. Unfortunately I couldn't tell from the picture reference how the front was and thought it opened at the front however when I tried it on I could'nt get into it. I visited the Costume Gallery at Platt Fields in Manchester rows saw it was should have been sewn shut. I then had to unpick the front and sew 3 rows of gathering at the top of the sleeves. I did however see 3lovely examples of corsets which had a pattern and were laid flat so you could tell how they were made. I also made an underskirt and cotton top. When I had it on it felt quite heavy it was certainly warm!

At the moment I have just finished a 1700s jacket. It went o.k except for the scolloped collar which was intricate, next time I won't sew the top of the scollop and oversew it by hand as it did't look neat when it was turned inside out. he pannier was a pain I
jacket 1700s

I made a 1700s panier but it was not wide enough so shelved two days work, I just finished another one yesterday. If I'd had a complete picture instead of one which was under the corset initially I would have realised it tapered at the front and open with a draw string fastening - the best thing to do is to research first - but would that ruin the fun of discovery I ask myself. Well it would have saved a lot of time and frustration!